Perspective/Distort
The Perspective/Distort command can be used to stretch, mangle or correct the perspective of an area selected with one of the Selection Tools. You must select a portion of the picture before the Perspective/Distort command can be used. To distort an entire picture, use the Select All command first.
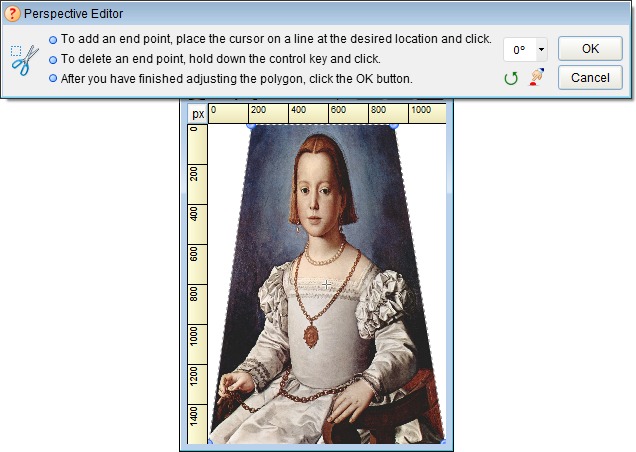
After choosing this command, small handles (which look like this ![]() ) will appear at the corners of the selection area and the Perspective Editor will appear, allowing you to make changes to the selection boundary.
) will appear at the corners of the selection area and the Perspective Editor will appear, allowing you to make changes to the selection boundary.
Use your mouse to drag each handle in the direction you want to stretch that part of the picture. To do this, place the mouse cursor over one of the handles. (The cursor will change to a pointing hand when it is in the correct position.) Hold down the left mouse button and drag the handle. As you move the mouse, the two lines connected to the end point will move, stretching or shrinking the enclosure surrounding the selection. When you are satisfied with the position of the end point, release the mouse button. The picture will be stretched to fit the new shape.
Should you need to add a new handle, simply position the mouse cursor over the location on the outline where you would like a new handle and click the left mouse button. (The cursor will change to a pointing hand with a plus sign when it passes over a location where a new handle can be added.)
To delete a handle, position the mouse cursor over the unwanted handle. (The cursor will change to a pointing hand when it is in the correct position.) Hold down the CTRL key and click the left mouse button - the handle will disappear. The picture will be stretched to fit the new shape.
Once you satisfied with the results, click on the OK button apply the changes and close the editor.